Pages

Showing posts with label Brannon Canares. Show all posts
Wednesday, January 24, 2018

Roaring Fire: Origami Airplane

I wanted to finish off with a bang for my last paper airplane and what a better way to do it, is to make the "Roaring Fire." When I first saw the design, it looked insanely cool. The skill rating was between the medium and hard side but I knew I had to try it for myself. The description bought me in. "This airplane will light up the sky with its roaring fire. The flames will seem to glide behind the model as they flare across its wings. The large wing area, made by first folding the paper across its width, helps this airplane stay aloft. A powerful launch lifting it high into the air will see it blaze a trail across the sky" (Ono 60). Well, it's time for me to finish this.


Doing it a little differently from other blogs, I am showing the final design before the steps to show you how I got it from just sheet of paper to this.


The Paper Design:
From what I could already tell, the paper was different than the others. It was wider and it looked like it was going to be less complicated than I thought.


Second Step:
"Next turn the tip back so that it sits on the far edge of the paper" (Ono 60).
The first step was the "basic fold both corners onto the middle" so transitioning to the second the step, I had to fold the tip on the edge of the paper.


Third Step:
"Fold the tip back so that the new crease lies half between the new edge and the original flaps" (Ono 60).
When doing this, I made sure to use ruler so I knew if I was lying the new crease in the middle of the original flap. It helped a lot.
After the third step, I flipped the paper over and folded it in half, leading it up to the fifth and final step!


Final Step:
"Place a ruler against the object to make a crisp, angled fold for the wing, starting at the end tips of the plane. Turn over and repeat on the other side to finish" (Ono 60).
The ruler part was super helpful. I would recommend to use it as tool for other paper airplanes to build in the future.


Question:
Have you ever tried something you thought you would never do but end up liking it?


Ono, Mari, and Roshin Ono. Fly Origami Fly. Edited by Robin Gurdon, illustrated by Trina Dalziel, Cico Books, 2010.


Wednesday, January 17, 2018

Stealth Jet

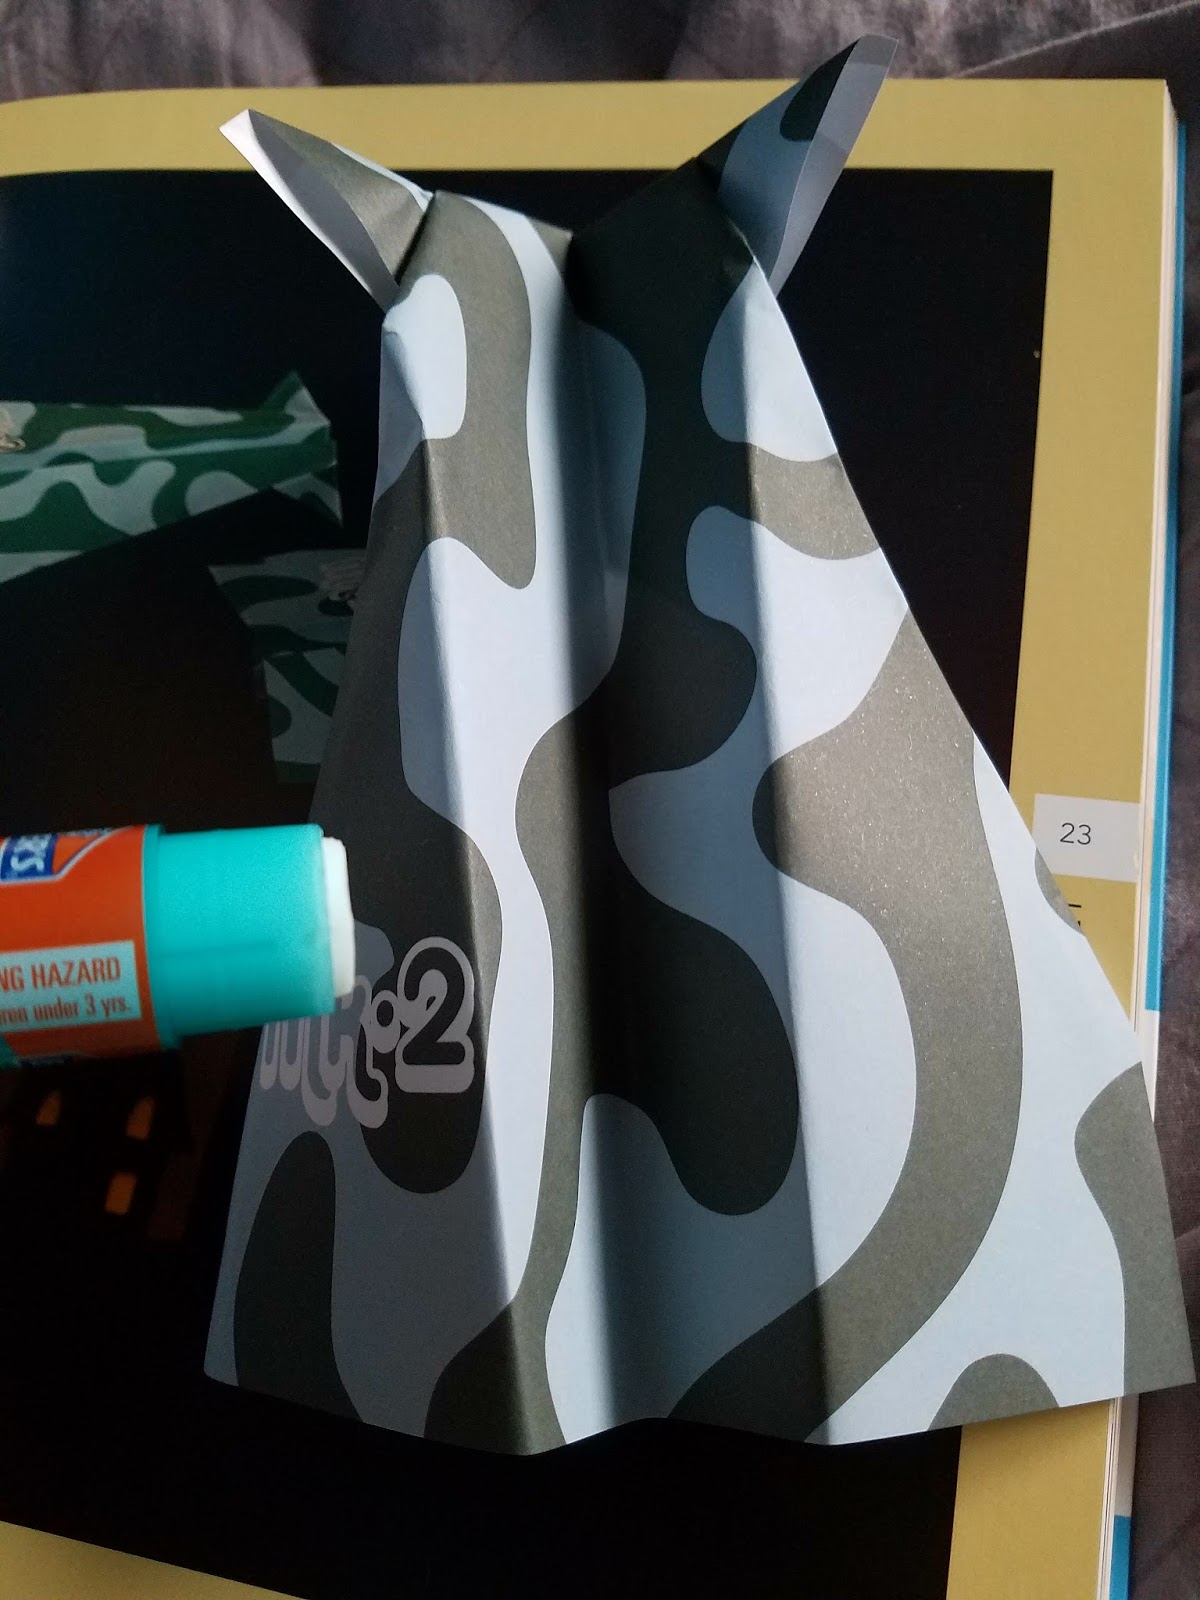
Building my first paper airplane in the book gained me confidence to try one in the harder skill level. it was called the "Stealth Jet." As I was flipping through the pages, it quickly caught my eyes. It looked unique with the front side pointing out like two horn. I couldn't miss the opportunity. The description said, "This jet is a classic and has been made by paper plane enthusiasts for generations. it is known as the '"Squid Airplane"' in Japan because its shape looks like a sea squid!" (Ono 22). Of course, I thought it looked like horns but after reading the description it looks more like squid than anything else. But anyways, this was my attempt for the "Stealth Jet."


The Paper Design:
The paper was about 8x6/21x15 cm. The color combination between dark green and light blue was nice, one of the reasons why I chose this plane.


First Step:
"Make a crease along the center of the paper by folding the colored sides together. Open out the sheet and fold two corners to meet along the central crease" (Ono 22).
From my experience on the "Classic Airplane." My precision to fold both sides has become a piece of cake.


Second and Third Step:
"Turn the paper over and fold both angled edges in to meet along the central crease" (Ono 22).


"Lift up the object and open out the two loose flaps of paper at the pointed end" (Ono 22).
I accidentally skipped this part and went to step 4 which explains the several creases on the paper but I was still able to do it!


Fourth and Final Step:
"Turn back the pointed end making the fold between the two outer points then lift the object and fold it in half along the central crease" (Ono 22).


"Lift the top flap forward to make the wing, making a straight fold about 1/2 in (1.5cm) up from the bottom. turn the paper over and repeat, then place a little paper glue in the space between the wings and press together" (Ono 22). I noticed gluing between the wings was the most important step of the whole design if not added, it wouldn't even like a paper airplane at all! But after gluing it together, the plane was complete and it looked really unique


              Final Design 
Not going to lie, I messed up a little when going through the steps but in the end, I was able to finish. It obviously doesn't look exactly the one I saw in the picture but it was solid. Even if you fail, just keep trying and it will pay off


Have you ever felt so frustrated that you wanted to quit but still kept going until the very end? If so, how did it feel?

Ono, Mari, and Roshin Ono. Fly Origami Fly. Edited by Robin Gurdon, illustrated by Trina Dalziel, Cico Books, 2010.


The Classic Airplane

After learning a few tips from the book. I finally begin to start my first Paper Airplane. It was called the "Classic Airplane." I figured to start on the most basic one so I could try to get a good feel before starting on the other crazy ones. It had a caption which a part of it said, "This classic paper airplane is a model that has been much loved for generations because it flies very well even thought it is so quick and easy to fold" (Ono 18).
                                                                       

My Design:                                                                                                       I've decided to use this paper design to build my first "Classic Airplane" because I noticed this was the only paper that didn't have a specific type of Paper Plane for it.    


First Step:    
"Make a crease down the center of the paper by folding it in half then opening it out again. turn in the corners of one end of the paper so that the sides lie along the central crease with the corners next to each other" (Ono 18).
Like any other airplane, this comes to no surprise to crease it down the center of the paper since it is called the "Classic Airplane."
I am able to do this easily.


Second Step:        
"Fold the new edges in so that they also meet along the central crease" (Ono 18).
Again, I had no problem doing the step of the instructions. The tips from the introduction helped me get an accurate fold.                                              


Third Step:
"Turn back the nose, folding it about 1in (2.5cm) from the end, then turn the object over and close up the plane along the original crease line" (Ono 18).
After this step, I made sure to flatten the paper with a textbook to avoid the paper from hanging out so I didn't have to use my hands to press it down.

Fourth And Fifth Step:
"Turn over the wing at a slight angle so that the plane's body is deeper at to back than the front" (Ono 18).
"Turn the plane over and fold down the other wing so that is exactly matches the first then open out the wings so that they sit together, at right angles to the body" (Ono 18). I didn't feel the need to add any pictures for the last two steps because it was pretty self explanatory.


Do you enjoy doing origami? Why or why not?


Ono, Mari, and Roshin Ono. Fly Origami Fly. Edited by Robin Gurdon, illustrated by Trina Dalziel, Cico Books, 2010.


The Basics: Origami AIrplanes

The book by Fly Origami Fly by Mari Ono and Roshin Ono shows the different unique ways to make paper origami air planes. This books shows different types of modeled paper airplanes that have become popular over the years. They also try to aim to encourage you to make your own designs. 
The book gives you a huge amount of paper with different designs on it. The authors try to give you lots of origamis suitable for all ages. Origami "has been part of Japanese culture for many centuries" (Onos 6). I've never been really good on origami but I feel if I read this book, it can help me get better and learn more of the history of origami.                                                                                                                                                


But before I start to make making the unique paper airplanes, we need to learn the basic techniques.

Making Folds
"Still holding the paper with your spare hand use a ruler or perhaps the side of a pencil to press down the fold until it is as flat as possible" (Ono 10).
From learning this technique, it helped me have an easier time building my paper plane since it already was flattened perfectly. Small things like these are useful in their own way


Opening folds
 "As the space widens you need to ensure thatj the point folds so use a pencil or pen to gently prise the paper open" (Ono 10).


"As the two corners separate the top point drops forward and the two edges open out to become one" (Ono 10).


What type of things do you do in your spare time?


Ono, Mari, and Roshin Ono. Fly Origami Fly. Edited by Robin Gurdon, illustrated by Trina Dalziel, Cico Books, 2010.