Pages

Showing posts with label Cake. Show all posts
Tuesday, December 26, 2017

Strawberry and Cream Sponge Cake (Christmas Edition)

For Christmas, I've decided to make a strawberry and cream sponge cake. The cake is very common in Asian culture to have during Christmas, especially for Japanese people. This dessert is made of a soft and airy sponge cake base, sandwiched with freshly whipped strawberry cream and some fresh-cut strawberries. For my cake, I named it Strawberry Wonderland.🍓☃🏘

Ingredients:                                              Sponge cake:        Whipped Cream:

4 eggs🥚            3/4pintof heavy whipping cream
70grams of sugar                  1/4cup of fine sugar
40ml of milk🥛          1/4cup of strawberry puree 
30ml of canola oil 2cups of 🍓(filling&décor)
1tsp of vanilla extract  
Meringue and egg batter
 50grams of all purpose flower
50grams of corn starch
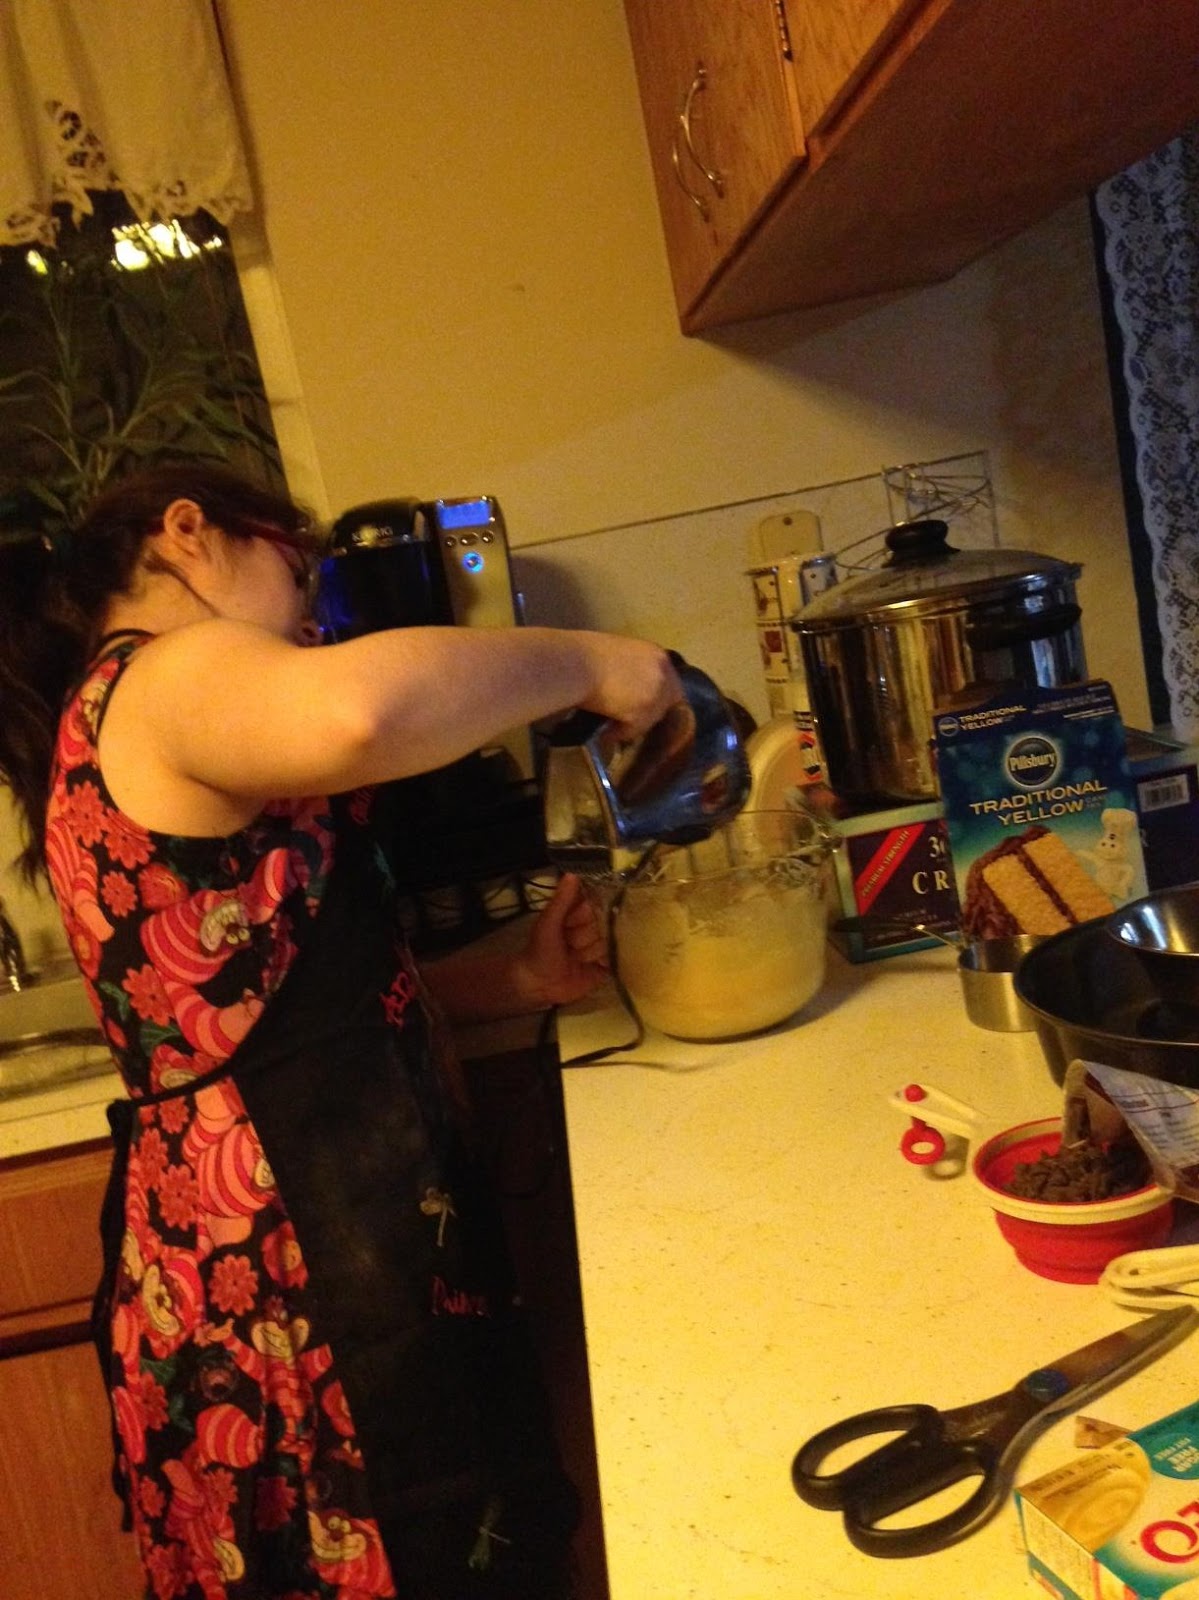
Steps:

1.To make the sponge cake, first combine the egg yolks, milk, oil, flour, corn starch, vanilla, 1/4 of the sugar and whisk until smoothed. (Set aside for later use)
2.Using an mixer, whisk the egg whites on high speed for 5min or until medium soft peaks form. When whisking, add sugar gradually after the egg whites become frothy.
3.Gently fold in the two mixtures in 3 parts until combined. "Fold"-"To gently mix a light mixture into a heavy one, avoiding knocking out the air"(Paul 247) This had help me understand the importance of folding gently instead of just whisking till combined. It really makes a difference in the end result of the sponge cake. From being stiff to light and airy.
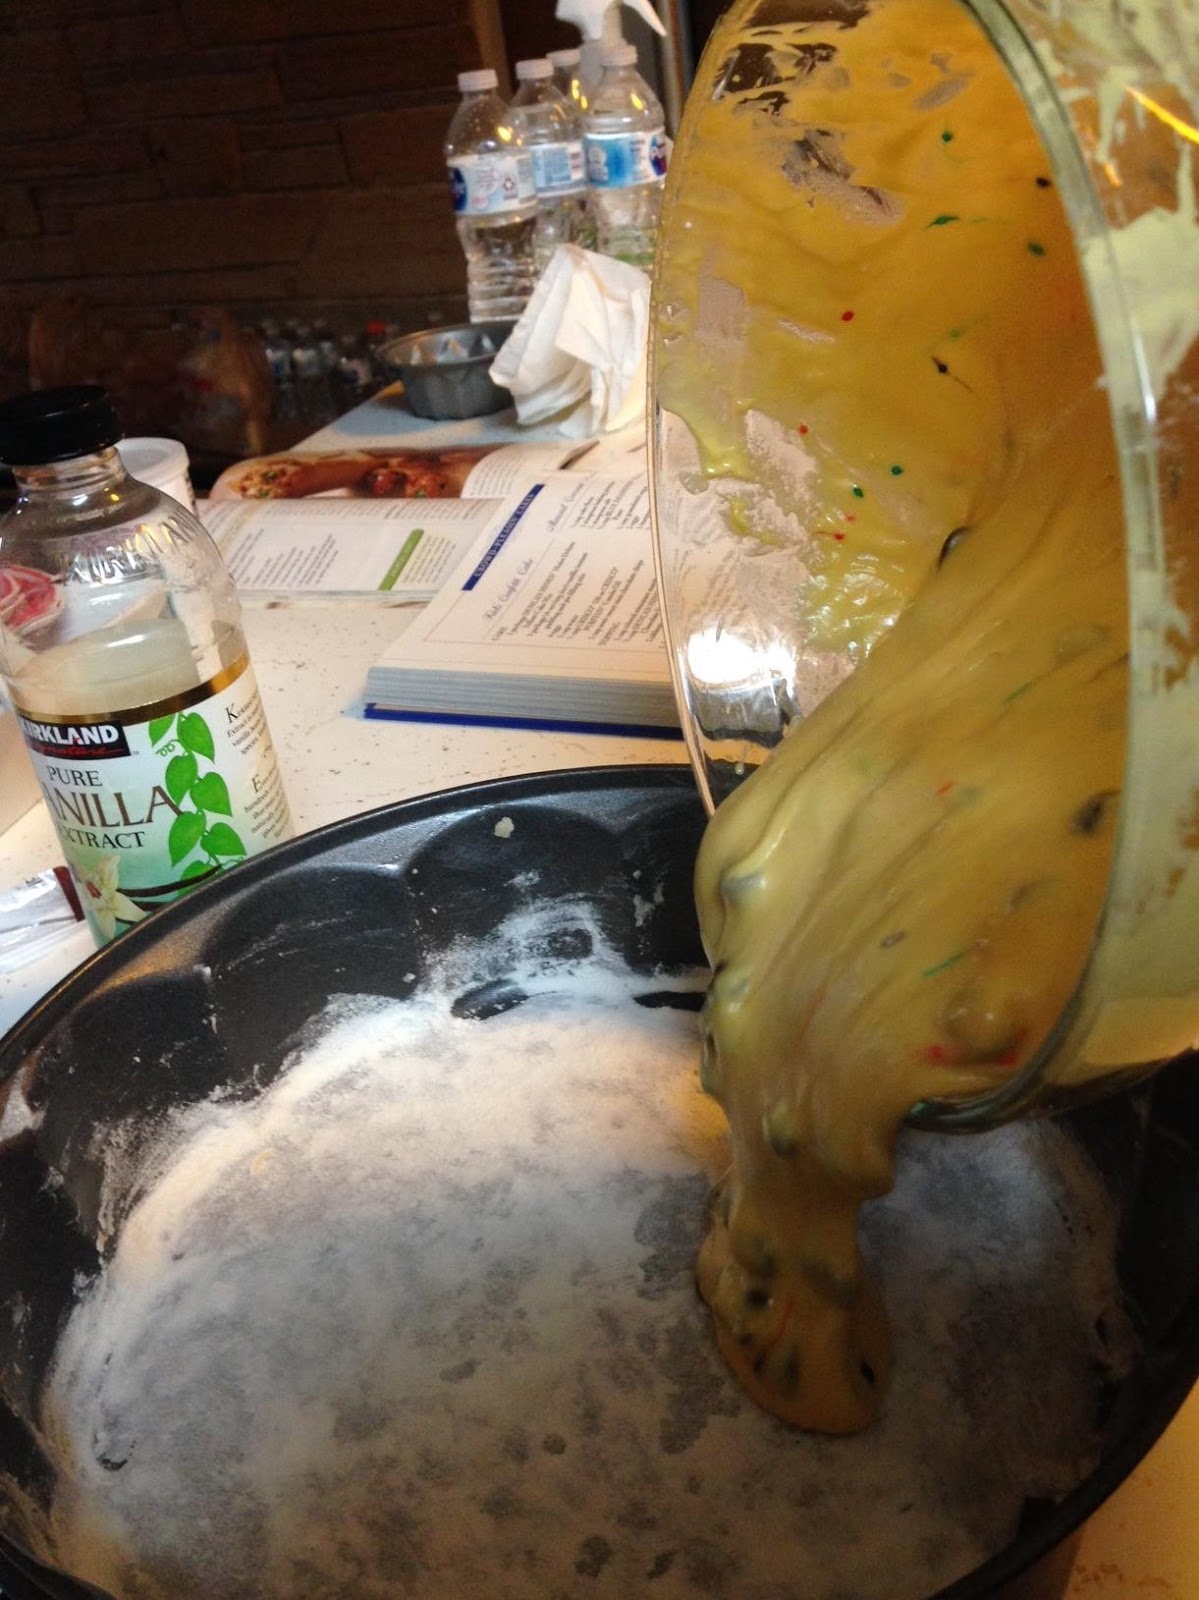
4.Pour batter into a round baking pan and bake for 45min in a 300 degrees Fahrenheit oven.
5.For the whipped cream, blend strawberries into a puree and strain the seeds with a sift.(set aside)
6.In a bowl, whisk the whipping cream and sugar together until it becomes stiff. Whisk in the puree.
7.Slice the cooled cake equally into two. Spread a layer of cream on the cake and place a layer of strawberries on to the cream and cover the strawberries with another layer cream. Finally, placing the last piece of sponge cake onto the cream.
8.Frost the cake and decorate it with the rest of the strawberries and cream.(put in fridge overnight)
"put your chosen tip in pastry bag then fold over tip of the bag to form a lip that sits over your hand and fill the bag with chosen frosting"(Paul 188) This has help me to fill the pastry bag quicker and made the whole process of decorating easier.
Lastly I want to wish everyone a merry Christmas! I hope you all get a chance to try this cake❤

What r your guys favorite type of cake and what filling do you like in it?


Thursday, November 30, 2017

Kids Confetti Cake

                                      Kids Confetti Cake

Everyone may believe that baking or cooking in the kitchen may be had. In reality it's actually very simple unless you are doing something very complicated. I only complicate myself if there is a celebration. Parties are the time to show your baking skills. Here's a great recipe for a day when you and/or your siblings can do to show your skills to the family. 
The recipe is: 
Cake
- 1 package of yellow cake mix
- 1 package (4-serving) vanilla instant pudding and pie filling mix
- 4 eggs
- 1 cup of water
- 1/2 cup of canola oil
- 1 cup semi-sweet mini chocolate chips

Topping
- 1 cup of colored miniature marshmallows
- 2/3 cup chocolate frosting
- 2 tablespoons semi-sweet mini chocolate chips

Once you have everything ready you preheat the oven at 350 degrees Fahrenheit. It takes only a few minutes to make the cake mix. To make it you have to combine the cake mix, pudding mix, eggs, water, and the oil. You have to beat it at medium speed.


The difference between mixing and beating is a great one. Mixing means that you add a few ingredients at the time and combining them lightly. Beating is more intense, it requires a whisk or an electric mixer. Beating is used for cakes and toppings, while mixing it to make everything smooth.

After you beat it for 2 minutes you stir in a cup of chocolate chips. You grease and flour a baking pan. It can be any one that you choose as long as the cake will look good,  You pour it into the cake pan. You put it to bake for 40-45 minutes or until the toothpick that is inserted comes out clean.


Now for the topping, you immediately arrange marshmallows evenly over hot the cake. You place the frosting in a microwaveable bowl for 25-30 seconds, maybe even less. You stir it until it's smooth. You drizzle it evenly over the marshmallows and the cake.

Now in the book it says, "Use a spoon or fork to drizzle melted chocolate over cookies, bars, cakes and breads" (6). This means that you slowly put the chocolate on the cake and marshmallows, which is what I did and it worked out greatly. It also says that you can put the chocolate in a Ziploc bag and cut off a corner to squeeze out the chocolate in a pattern if you want to (6).

Now this is how the cake turned out. It looks great and tastes great. I hope you all try it out!


Which way do you guys believe would be better to drizzle the chocolate: with a fork/spoon or a plastic baggie?

Ross, Peter Dean, illustrator. Favorite Brand Name Bake Sale Cookbook. Louis
     Weber, 1997.


Saturday, December 31, 2016

Rich Chocolate Cake

This next recipe that i will be sharing with you guys was the toughest recipes I've done for this Independent Reading Project so far. There was so many bumps (literally) and challenges that i faced doing this but through all those challenges, the outcome was better than ever. This recipe will feed about 4-5 people depending on how many slices a person wants. In the book, there was an option of doing this recipe as a cupcake or just as a whole cake but if you decided to, "this recipe would make 24 cupcakes as well" (Pansino 27).

The ingredients you will need are:
- 1 & 1/2 cups of all-purpose flour
- 2/3 cup unsweetened cocoa powder, plus more for dusting the pan
- 1 &1/2 teaspoons of baking soda
- 1 teaspoon baking powder
- 1/2 teaspoon of ground cinnamon
- 1/2 teaspoon salt
- 1 & 1/3 cups of granulated sugar
- 2/3 cup firmly packed light brown sugar
- 4 large eggs
- 1/3 cup of water
- 2 teaspoons of vanilla extract
- 1 cup of sour cream
- 1/4 cup of vegetable oil

Directions:
1. The first thing you will need to do is gather your ingredients and
pre-heat your oven to 325 degrees Fahrenheit then after that, grease a 9 x 13-inch metal pan. Now this was kind of weird for me because whenever i see a cake, i dont see it in a baking pan. I usually see it in a round baking pan so i decided to change that and use a round pan instead of a basic baking pan. Line the bottom of the pan with parchment paper and dust some cocoa powder on the pan.
2. In a large bowl, whisk together the flour, cocoa powder, baking soda, baking powder, cin
namon, and salt. After those are all mixed, mix in the sugar in until evenly combined and then set that aside. A thing that was challenging for me was that i kept getting little "rocks" of brown sugar and you dont want those because you dont want to take a bite of just brown sugar in your cake. So, i got a pair of gloves and popped the brown sugars so i didn't have any bumps!
3. In a medium bowl, whisk together the eggs, water, and vanilla and then after that is mixed, then add the sour cream and oil.  After the two mixtures are evenly mixed, your gonna make a hole in the dry mixture (this is called a well) and then you would add the wet mixture into the whole and then in a folding motion, mix the two mixtures until there is not more dry streaks of flour but DO NOT OVER MIX!
4. Pour the batter into the prepared pan and spread evenly then tap the pan on the table to get rid of any bubbles. Bake for around 25-40 minutes or until a wooden pick is inserted and it comes out clean. For me, 37 minutes was fine.
5. Let the cake cool in the pan for about 15 minutes and also in the book, the author says that if this necessary, you can loosen the cake from the sides of the pan with a small knife (Pansino 27). Carefully flip the cake upside down onto a wire rack or a plate that can fit the cake and peel off the parchment paper, and then flip the cake right side up and decorate (always optional)
NOTE: if making cupcakes with this recipe, line the 24 cupcake trays, fill them almost 3/4 full, bake for around 18-20 minutes, and then let them cool for 15 minutes and decorate (optional)

Final Presentation:

Although this was the hardest and most difficult recipe i made for this IRP, it was definitely the tastiest. The cake was super rich, rich to the point where it started to taste like dark chocolate. It was super fluffy and absolutely perfect and adding frosting made it 1000 times better. One tip that i do have for you if you ever do this is to make sure there are no bubbles or pieces of sugars because i did find one big chunk of brown sugar in one a slice that i took out. Just make sure to mix the dry ingredients carefully but other than that, it was amazing. If i had to chose which recipe i would do again out of all the recipes iv'e done so far, i would definitely chose those because the cake was seriously so good! In the end, there were some challenges to face along the way but the outcome was to die for!


Question: What's your favorite cake flavor and why?

Citation: Pansino, Rosanna. The Nerdy Nummies Cookbook: Sweet Treats for the Geek in All of Us. New York: Atria, 2015. Print.