 |
| Me and some buds at the Christmas eve cookie run. We ran 9.3 miles! |
Thursday, December 31, 2015
Volume Training
Yeah, you read that correctly. It's time to talk about everyone's least favorite run, the long run. It doesn't necessarily have to only be running, volume training also applies to "cycling, running, cross-country skiing, or a similarly aerobically demanding sport:"(Magness Pg. 130). High volume workouts are very slow paced and are time consuming which in most cases is boring. "Given the changes that occur with high intensity versus lower intensity and longer duration training, it is not surprising that high intensity training shows greater benefits over only a the standard 6 week time frame of most training studies. (Magness Pg. 130). Now, don't get me wrong. I hate long runs just as much as the next guy, but Steve brings up a study that was conducted in 2002 that supported the statement that supported athletes doing more volume training. "so that the continuous group now did 12 weeks of interval training. It was found that the group that did continuous and then interval training improved significantly more in terms of exhaustion (15% to 5.3%) and VO2max (7.4% to 3.6%) than the group that did interval then continuous training. While this shouldn't be a surprise to any coaches, the finding supports the idea that a base of moderate work needs to established before intense training is done in order to achieve maximum benefits. (Magness Pg. 131) My advice to you is start going on easy runs with friends and enjoy the weather before pushing yourself to your limits!
Beginning to Shoot and Laying Groundwork
Upon beginning archery I put a fair amount of time into it
in the beginning but I never really put a lot of groundwork into it. I remember
in 6th grade at camp they gave us a bow and put a target down range
and it was like a competition. However, we never just took a moment to really
get a good feel for it and just practice so that’s what I thought archery was, all focused on accuracy and such right from the beginning. When using targets, I wasn't great and it frustrated me, I never put the groundwork down when I probably should have.

When I was first learning to shoot I felt a little too
prideful and like I needed to exceed and be good at it right from the start,
and a little too impatient to finally get good and shoot something really far
away. In the book the author mentions, “Following a consistent routine is the
key to becoming a great archer. If you are new to archery, just concentrate on
developing proper shooting form. Don’t worry right now about accuracy or even
how far away the target is placed” (Engh 39). This is key to success as being impatient
will never allow you to reach full potential, practice makes perfect and you
have to lay the groundwork before you can actually achieve anything. He mentions hay is a good target because it is unmarked, just shoot into it, not from a distance, maybe 15 feet, just shoot it and practice good form, don't worry about distance, or accuracy, that will come from practicing this now.
Do you feel like you rushed yourself a little bit when you were first learning to shoot? If yes, if you could go back and take it a bit slower to get a good feel and become an expert at the basics, why?
Engh, Douglas. Archery Fundamentals. IL: Human Kinetics Inc, 2005. Print.
Drawing Simple Structures
Drawing environments is not something that you can learn overnight. Drawing even simple structures take much effort. I came to learn that there are many steps to drawing structures. Something that may be as simple as a square building has many different techniques to draw them. To draw an environment it is best to start with a general idea of the finished product (Robertson, and Bertling 108). Scott Robertson and Thomas Bertling states that "A great way to create a perspective grid quickly is by using a photo as an underlay." (108). For practice I started out with a simple picture of a simple square house that was clean with not much detail to it. First I found the vanishing point of the house by intersecting two guide lines at the house. From there, I could use the point to create a rough one point perspective outline of the building. I used black ink to outline the visible edges of the drawing.


To finish the drawing, I took a new sheet of paper and used the it to make a sketch of the house and added details. The details were mostly basic boxes that would defines the windows, doors and small accessories on the house. Even though my house is still quite simple in the end, the extra details I added made the house look more house-like than the underlay I used to create it. The finished product would look less appealing without the windows and doors. According to Robertson and Bertling, "Detailing a drawing is an important step to making it more successful, and being able to do that happens when you spend time improving your visual library." (107). The best way to be able to get better in drawing structures and environments would be to practice continuously.
What kind of details do you think the author means by improving your visual library?
Robertson, Scott, and Thomas Bertling. How to Draw: Drawing and Sketching Objects and Environments from Your Imagination. CA: Design Studio, 2013. Print.
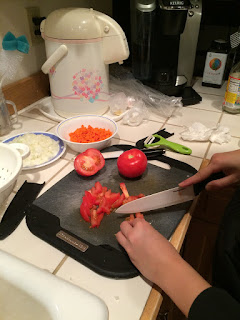
Neapolitan ziti au gratin with toamtoes and breadcrumbs
For the past two dishes I've made, both only used the stove so I decided to further my knowledge in cooking. Today, I chose a recipe that needed an oven to be completed since I've never used it in cooking. Before today, I didn't think the oven was commonly used in cooking but I learned that it is actually used quite frequently.


Ingredients:
- 12 oz. Neapolitan Ziti
- 1.75 oz. Onion, peeled and diced
- 1.75 oz. Carrot diced
- 0.75 cup Extra-virgin olive oil
- 1 lb. Tomatoes, peeled and chopped
- 1 oz. dried breadcrumbs
- 1 clove garlic, peeled and crushed
- Salt and pepper to taste
(I Love Pasta 82)
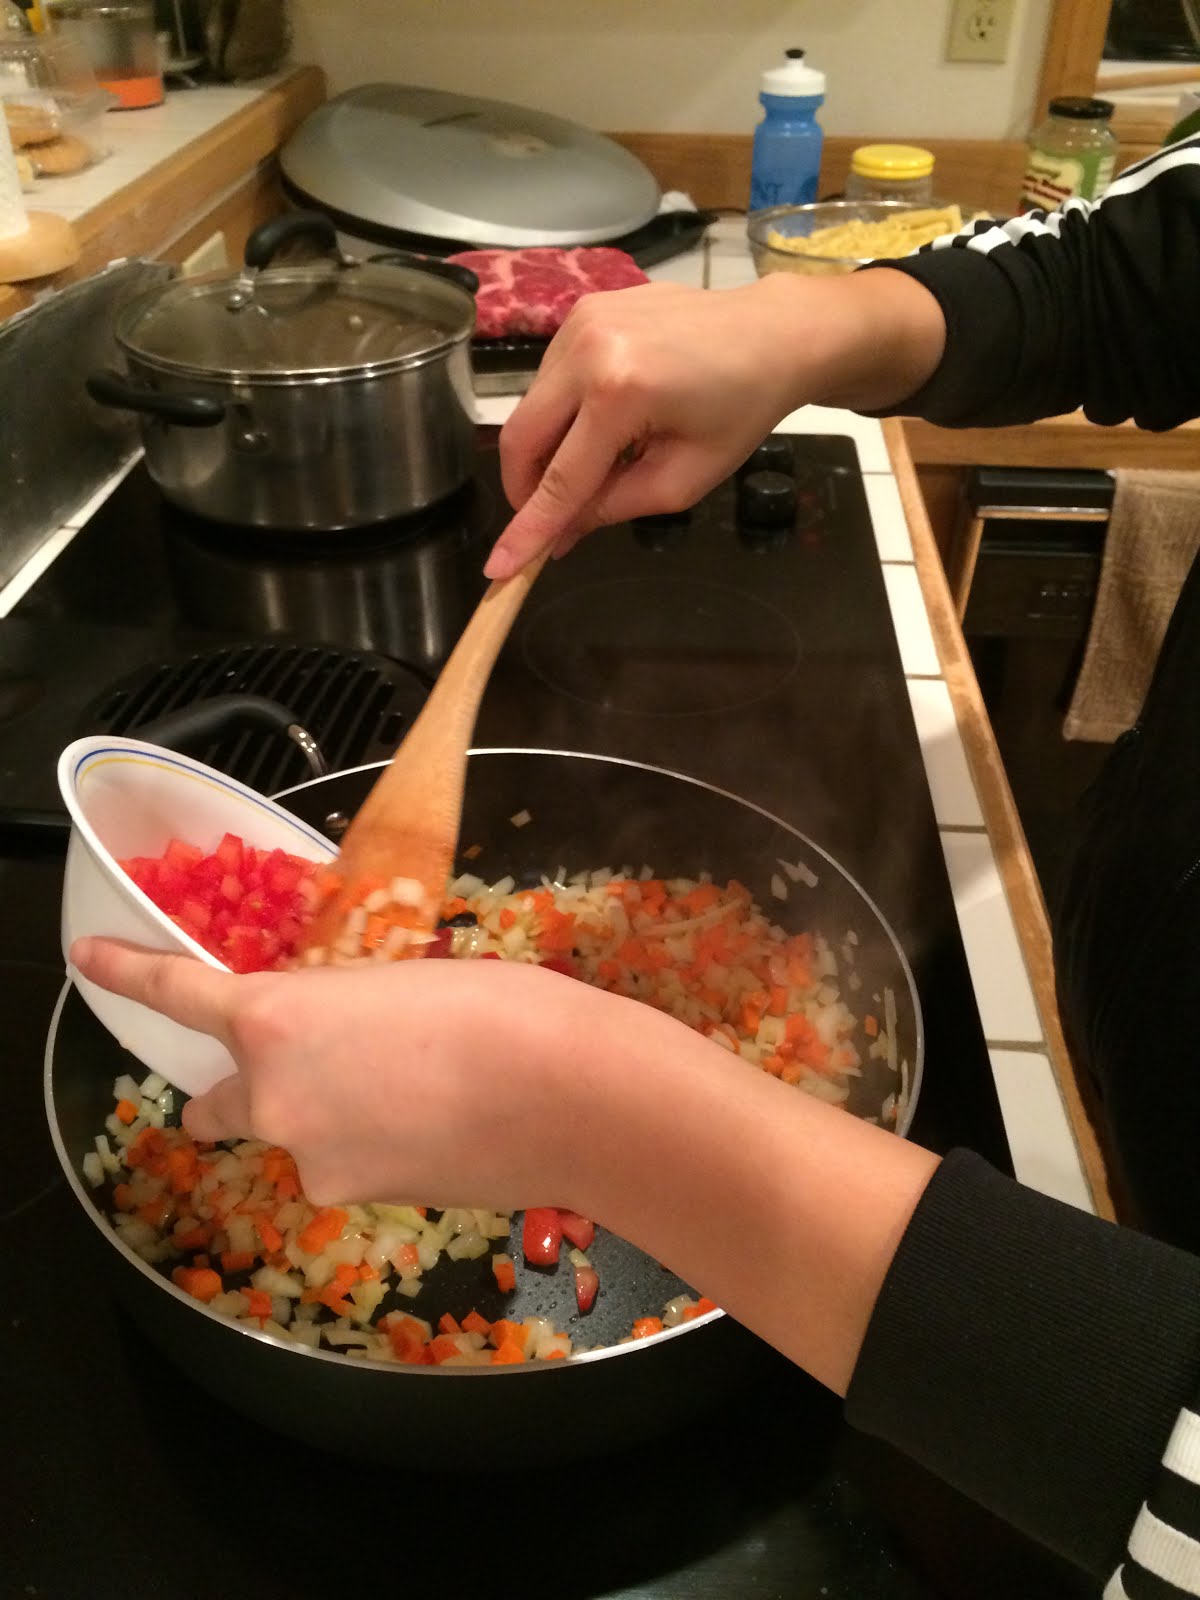
The very first thing I did was preheat the oven to 390 degrees Fahrenheit. Then, I toasted some bread and blended the toast in my Magic Bullet. After doing this, I chopped up the onions, carrots, and tomatoes that would be used to make the sauce (I Love Pasta 82).
The very first thing I did was preheat the oven to 390 degrees Fahrenheit. Then, I toasted some bread and blended the toast in my Magic Bullet. After doing this, I chopped up the onions, carrots, and tomatoes that would be used to make the sauce (I Love Pasta 82).


Next, the book said to "Heat two-thirds of the oil in a pan over medium and brown onion, carrot, and garlic" (I Love Pasta 82). After I had browned them, I added the tomatoes and cooked it over high heat for ten minutes. During this time I also seasoned the sauce with salt and pepper.


Then, I boiled the water and cooked the ziti for ten minutes. After making the ziti, I added the it to the sauce and mixed the two together. Finally, I put the pasta into a casserole dish and sprinkled the breadcrumbs on top. I also put some oil in the pasta and baked it in the oven for six minutes.


Making this dish taught me that little things can really change a dish. Before sprinkling the breadcrumbs, the dish looked very sad and it didn't taste very good. After putting the breadcrumbs, there was more taste and it transformed its texture a lot.
I would say this dish deserves a two out of three. This dish was quite bland and that was this dish's major downside. In the end, we added some pasta sauce to the pasta to give it more taste and it instantly tasted a thousand times better.
When you eat something that tastes bad, what do you do to make it better?
I
Love Pasta: An Italian Love Story in 100 Recipes.
Newtown: Taunton, 2013. Print.
Minecraft Survival: Armor
A Good Defense is A Good Offense
Besides a stable weapon, Armor is an essential you need to get while in the world of Minecraft. Without it, chances of you surviving are slim. By reading this you'll find out how useful armor is, different recipes to craft armor and what kinds of things armor can protect you from.
Like the sword, armor can be crafted using different materials you get in the game. The materials you can use for crafting armor are leather, gold, iron and diamond. There is also chain-mail armor, however, "chain-mail cannot be crafted, but can sometimes be acquired through villager trading, or if a mob (monster) drops it when it dies. Leather, gold, iron and diamond armor can be also be dropped by mobs". (Milton 15). A unique fact about leather armor is that it can be dyed to get a different color, making you look stylish as you slay enemies. However, personally I think diamond is the correct way to go since its the strongest you could get.
When you equip a piece of armor in your inventory, an armor bar will pop above your hotbar. It consists of 10 chest plates. A chest plate is worth 2 defense points that represent 8% protection. (Milton 16). You can only achieve up to 80% of total protection, because you'll never be completely immune to damage in Survival mode!
The armor recipes for the different armor pieces are found below:
 |
| These Recipes can be arranged using leather, gold, iron or diamond. |
Each armor piece has different defensive points depending on what material is being used. Down below are each piece of armor and a complete explanation of what they do.
A Helmet is crafted using 5 pieces of a material.
- Leather is 0.5 defense point
- Gold, chain, and iron is 1 defense point
- Diamond is 1.5 defense point
Fun Fact: A helmet is not the only thing you can wear on your head. You could also wear a pumpkin or a mob head!
A Chest Plate is crafted using 8 pieces of a material. It is completely different from your chest plates above your hotbar.
- Leather is 1.5 defense point
- Gold and chain is 2.5 defensive points
- Iron is 3 defensive points
- Diamond is 4 defensive points
Trousers aka Pants are crafted using 7 pieces of a material.
- Leather is 1 defense point
- Gold is 1.5 defense point
- Chain is 2 defensive points
- Iron is 2.5 defensive points
- Diamond is 3 defense points
Boots are crafted from 4 units of a material.
- Leather, gold, and chain are 0.5 defense point
- Iron is 1 defense point
- Diamond is 1.5 defense point
It's smart to craft chest plates and pants first since they are stronger than helmets and boots, but the main goal is to craft armor for your entire body to protect yourself from danger. However, there are some dangers you cannot avoid from even if you are wearing armor.
Armor can protect you from:
- Mob attacks
- Arrows
- Explosions
- Player attacks
- Fire and lava
- Cacti
- Getting struck by lightning
- Being hit by a falling anvil
- Being hit by chicken eggs
However, armor cannot help you from the following:
- Falling into the Void
- Ongoing damage from fire
- Suffocating inside a block
- Drowning in water
- Poison
- Potion of harming
- Starvation
- Being hit by snowballs
- other harmful potion effects
Armor gives a player the best protection affordable. Like swords and bows, armor can also be enchanted to make it even stronger than normal. You now know what armor can do for you, and with your previous knowledge on swords and bows, you're able to face the world of Minecraft. However, you also have the possibility of enchanting your items for stronger use. Would you be ready for combat or would you enchant your items first?
Milton, Stephanie, and Paul Soares. "Basic Weapons." Minecraft: Combat Handbook: An Official Mojang Book. Scholastic, 2014. Print.
On the subject of a German scientists' tongue and brilliant theory
In my last post, I went over the conditions Dr.'s Tyson and Goldsmith showed were present at the beginning of the universe including the size, time, and temperature. To understand even a bit more of what happened, Tyson and Goldsmith refer us to one of the most famous equations known around the world. E=mc^2. "E = mc^2-- energy equals mass times the square of the speed of light-- gives us a supremely powerful computational tool..." (Tyson and Goldsmith 36)
This equation was declared in 1923 in Albert Einsteins' The Principle of Relativity (which is cited in this book, I would like to point out) This equation allows us to calculate things impossible to see with the naked eye, such as radiation and photons(particles of visible light, you decide if you want to qualify it as visible or invisible). Luckily, there isn't a lot of energy in these particles of light, and we aren't compatible with the equation, Tyson and Goldsmith give a very... imaginative description of what were to happen if we were, "Start hanging around gamma-ray photons that have some real energy---at least 200,000 times more than visible photons. You'll get sick and die of cancer...As you watch, you'll also see matter-antimatter pairs of electrons collide, annihilating each other and creating gamma-ray photons...Increase by a factor of 2,000, and now you have enough energy to turn susceptible people into the Hulk."(Tyson and Goldsmith 37)
 |
| What's in the top-right corner isn't part of the work |
 |
| If I'm gonna give him credit, might as well include a picture of the genius himself right? |
As with high school physics, the knowledge of the formula is the easy part, I commend all the physicists out there who take time out of their day to apply these formulas to our world. The idea to work deciphering the theory and equations like it sounds appealing to me. Have you ever heard of the theory of relativity before this and if so, what did you think of it?
Tyson, Neil DeGrasse and Goldsmith, Donald.
Origins: Fourteen Billion Years of Cosmic Evolution. Norton & co.
Inc.(USA)2005, reissued 2014. Print
Subscribe to:
Posts (Atom)